Marketplace
A user guide for working with the marketplace.
This section deals with using and managing the Marketplace.
Clicking on the Marketplace provides access to the marketplace, allowing us to use existing packages or create our own packages to publish.
The marketplace is an open space shared by all customers of
Q.Qpublishes free general packages available to all our customers.
Find and Purchase
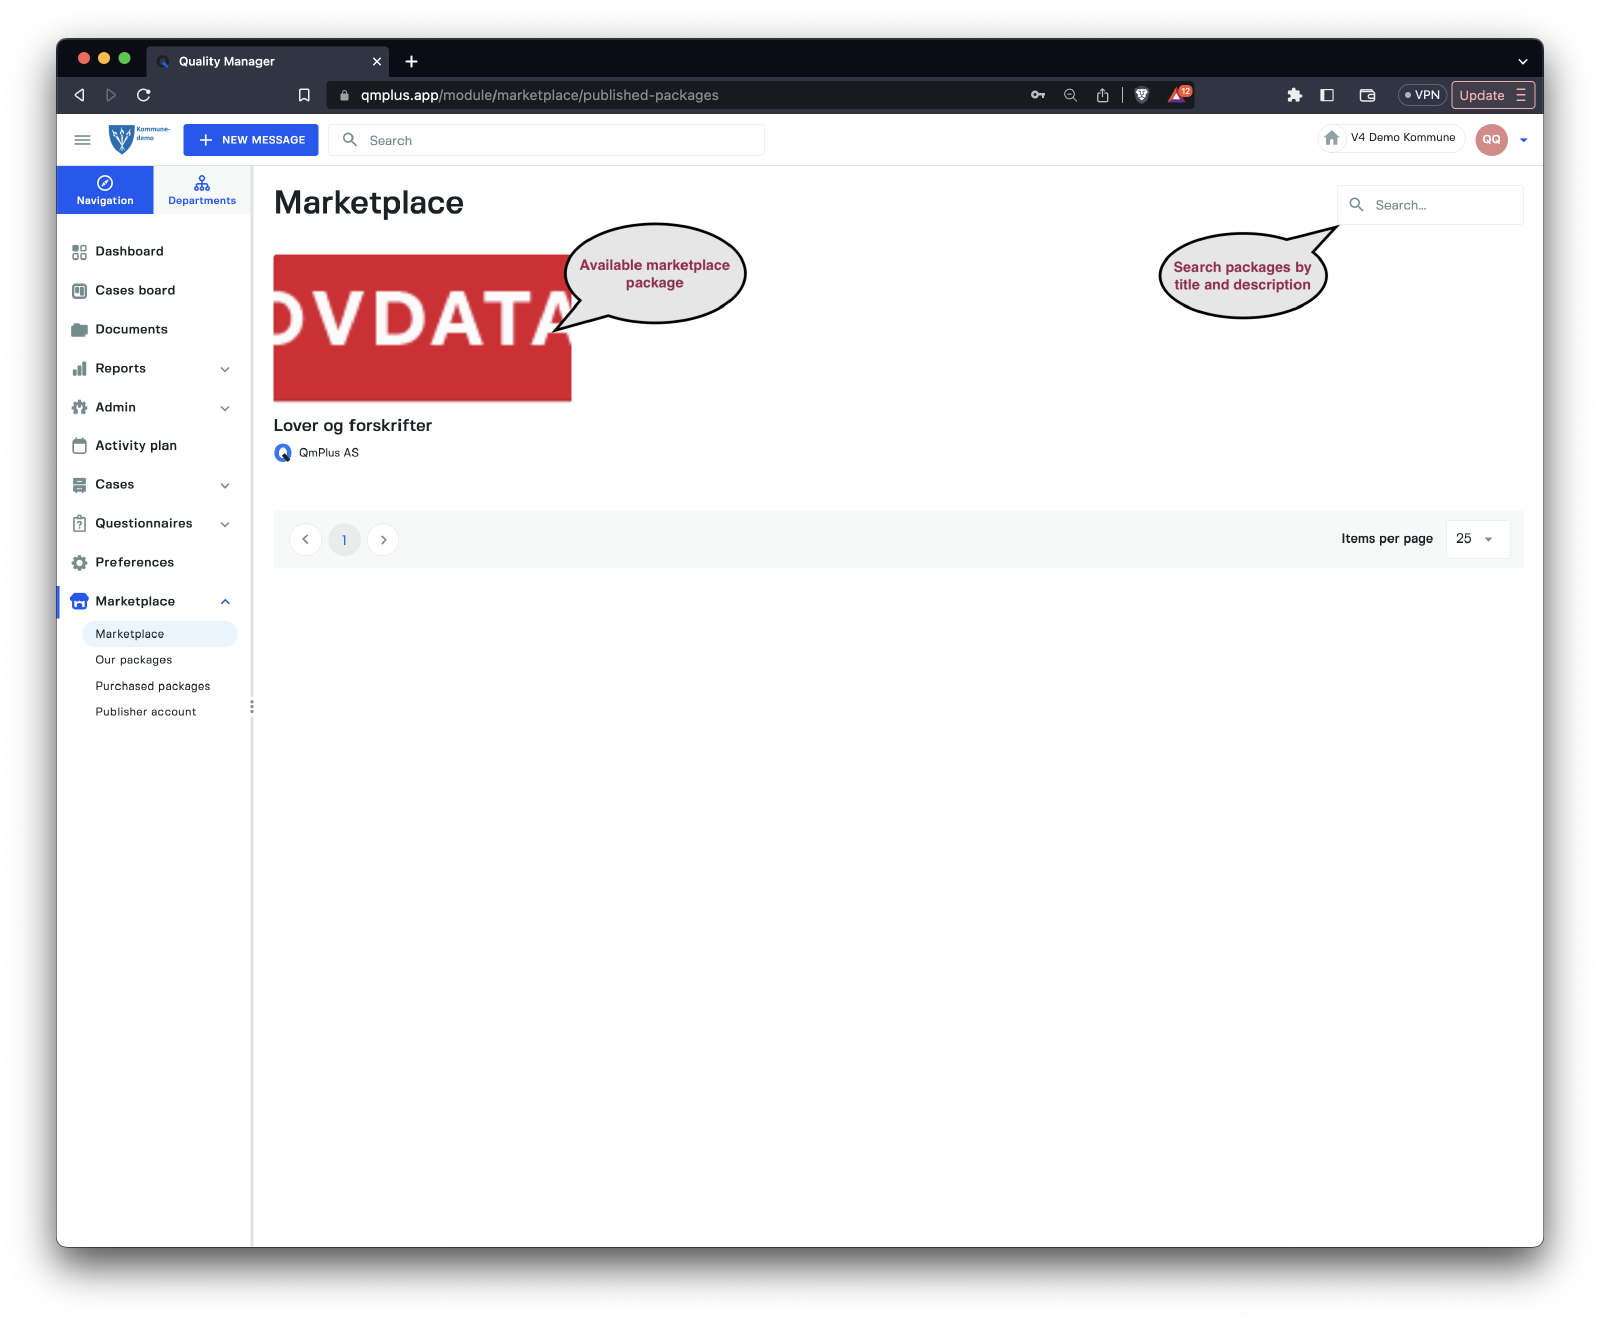
The Marketplace enables you to search for new packages containing documents, forms, and questionnaires to import, allowing you to get started quickly. Clicking on the package displays the contents of the package.
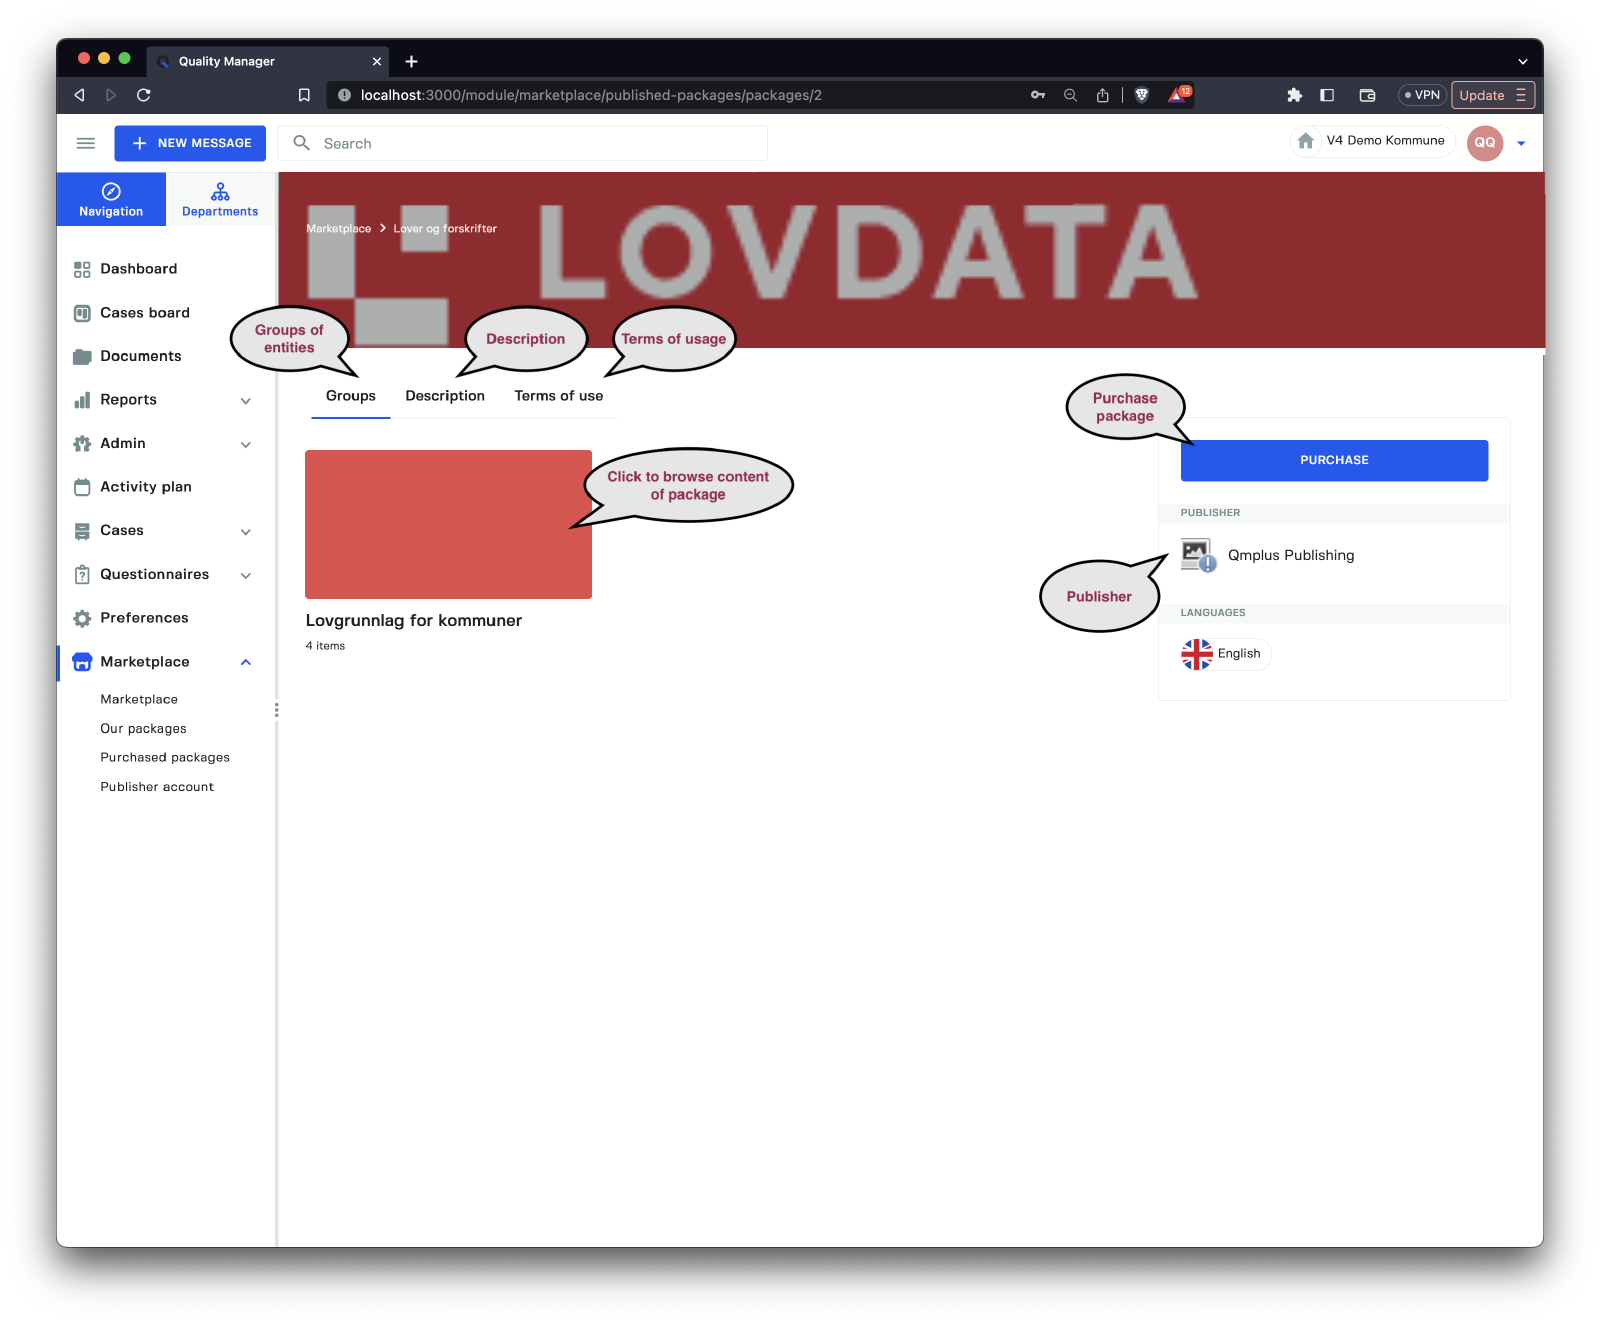
There are three tabs for a package.
| Tab | Description |
|---|---|
Groups | Groups organize forms, documents, and questionnaires into units. |
Description | The description of the package. |
Terms of use | Any terms of usage or copyright for the package content that you agree to when purchasing the package. |
To purchase the package, click on the Purchase button. For now, all the packages are free, but this might change in the future.
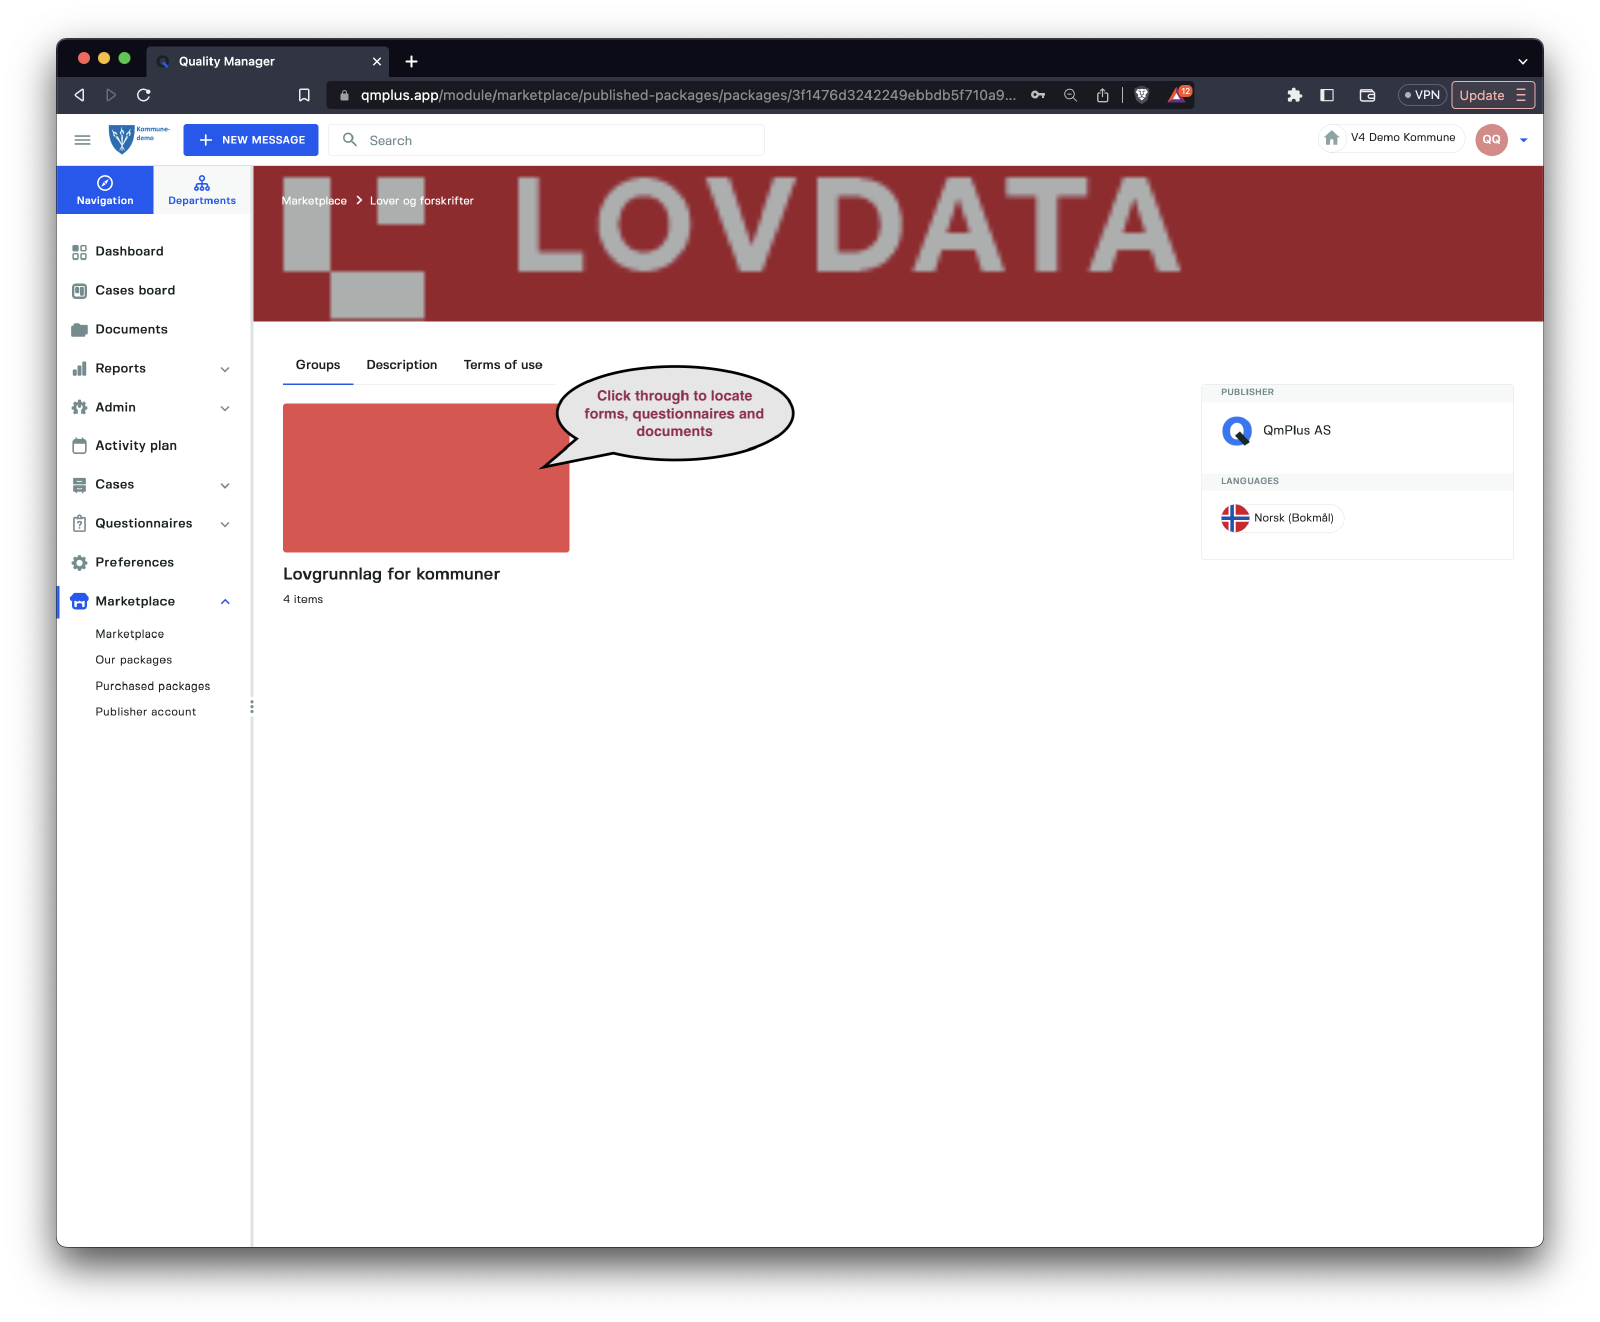
You can click on a group to see the listing of content.
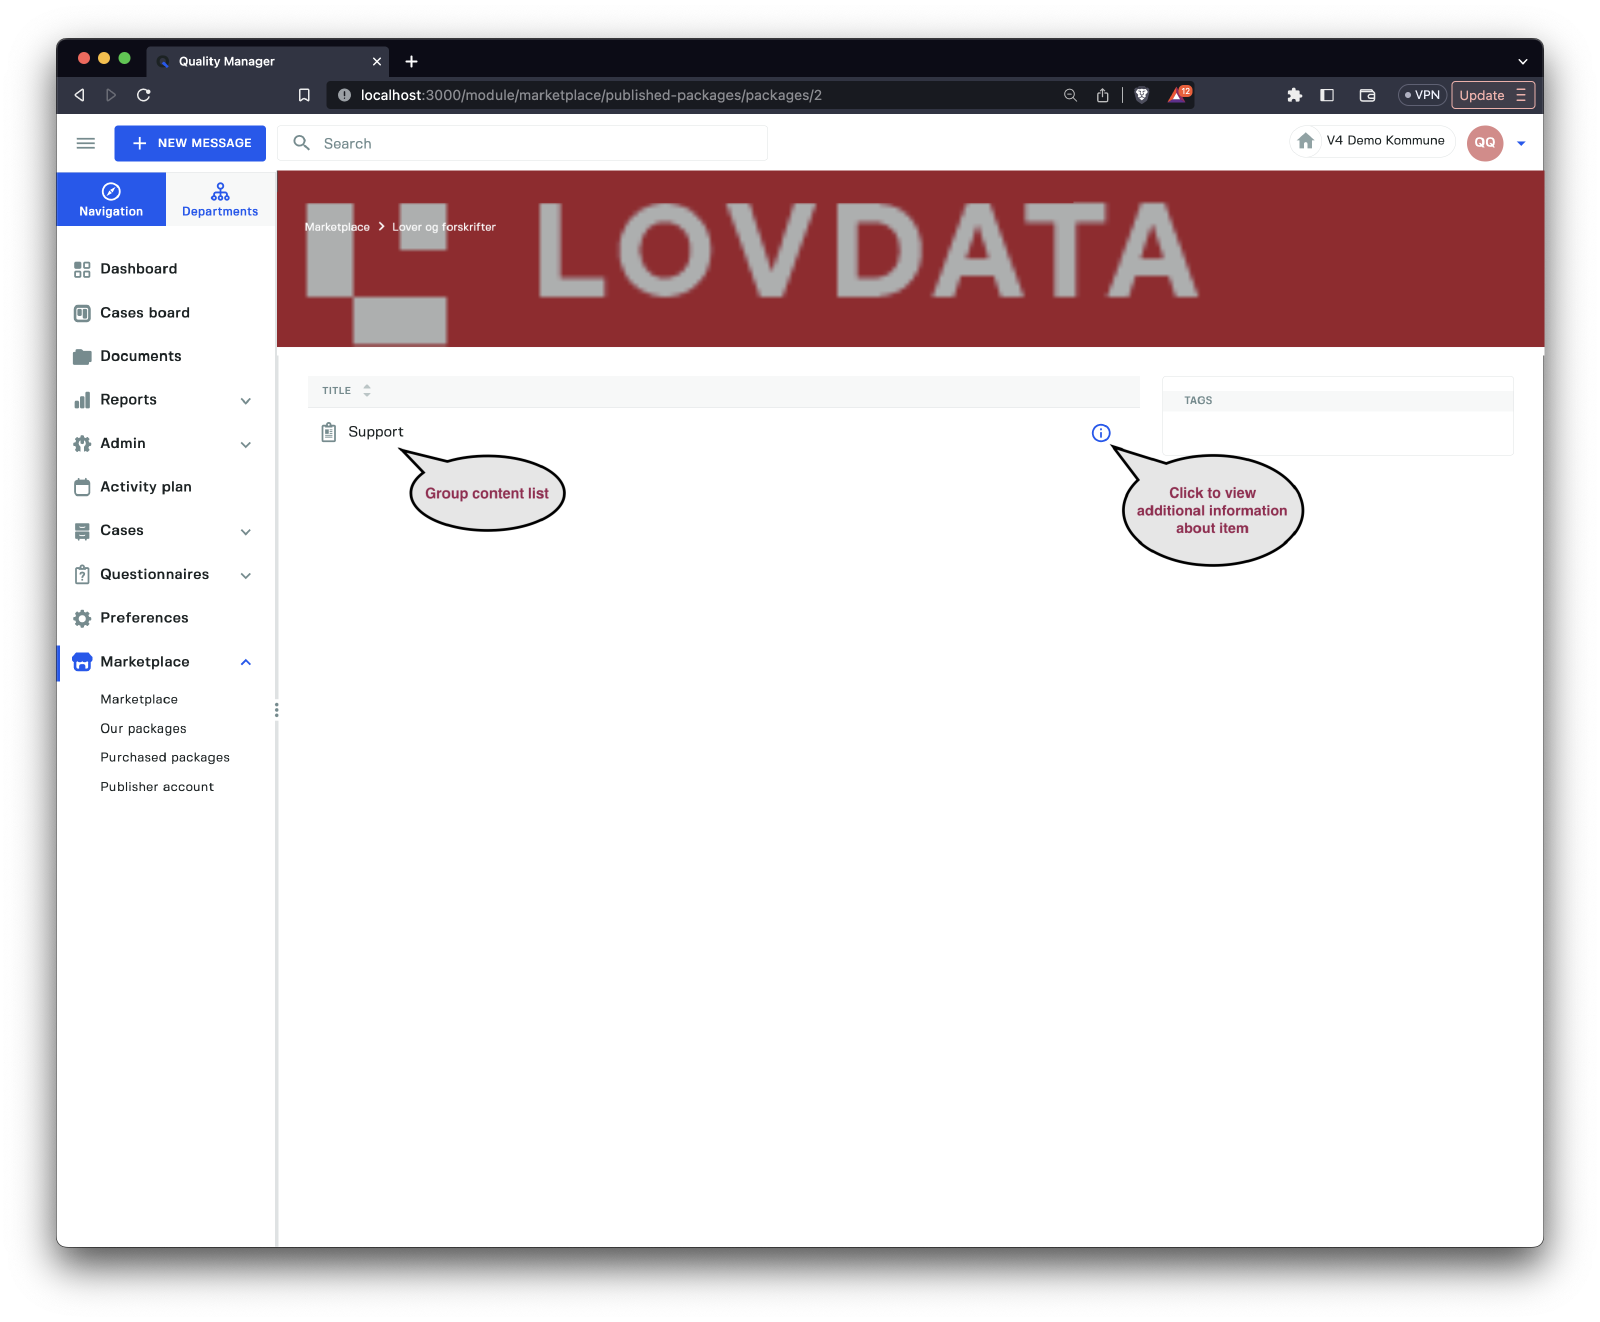
All the entities in the group (be it forms, questionnaires, or documents) will be listed in the group list. You can view additional information by clicking the little question mark (additional information will be shown in a sidebar).
Importing a package
In this section, we will demonstrate how to import documents, forms, and questionnaires from an already purchased package. Click on the Purchased packages link to view all your purchased packages.
Click on the package to go to the package group view.
Click on the group to navigate to the full group view.
DONE
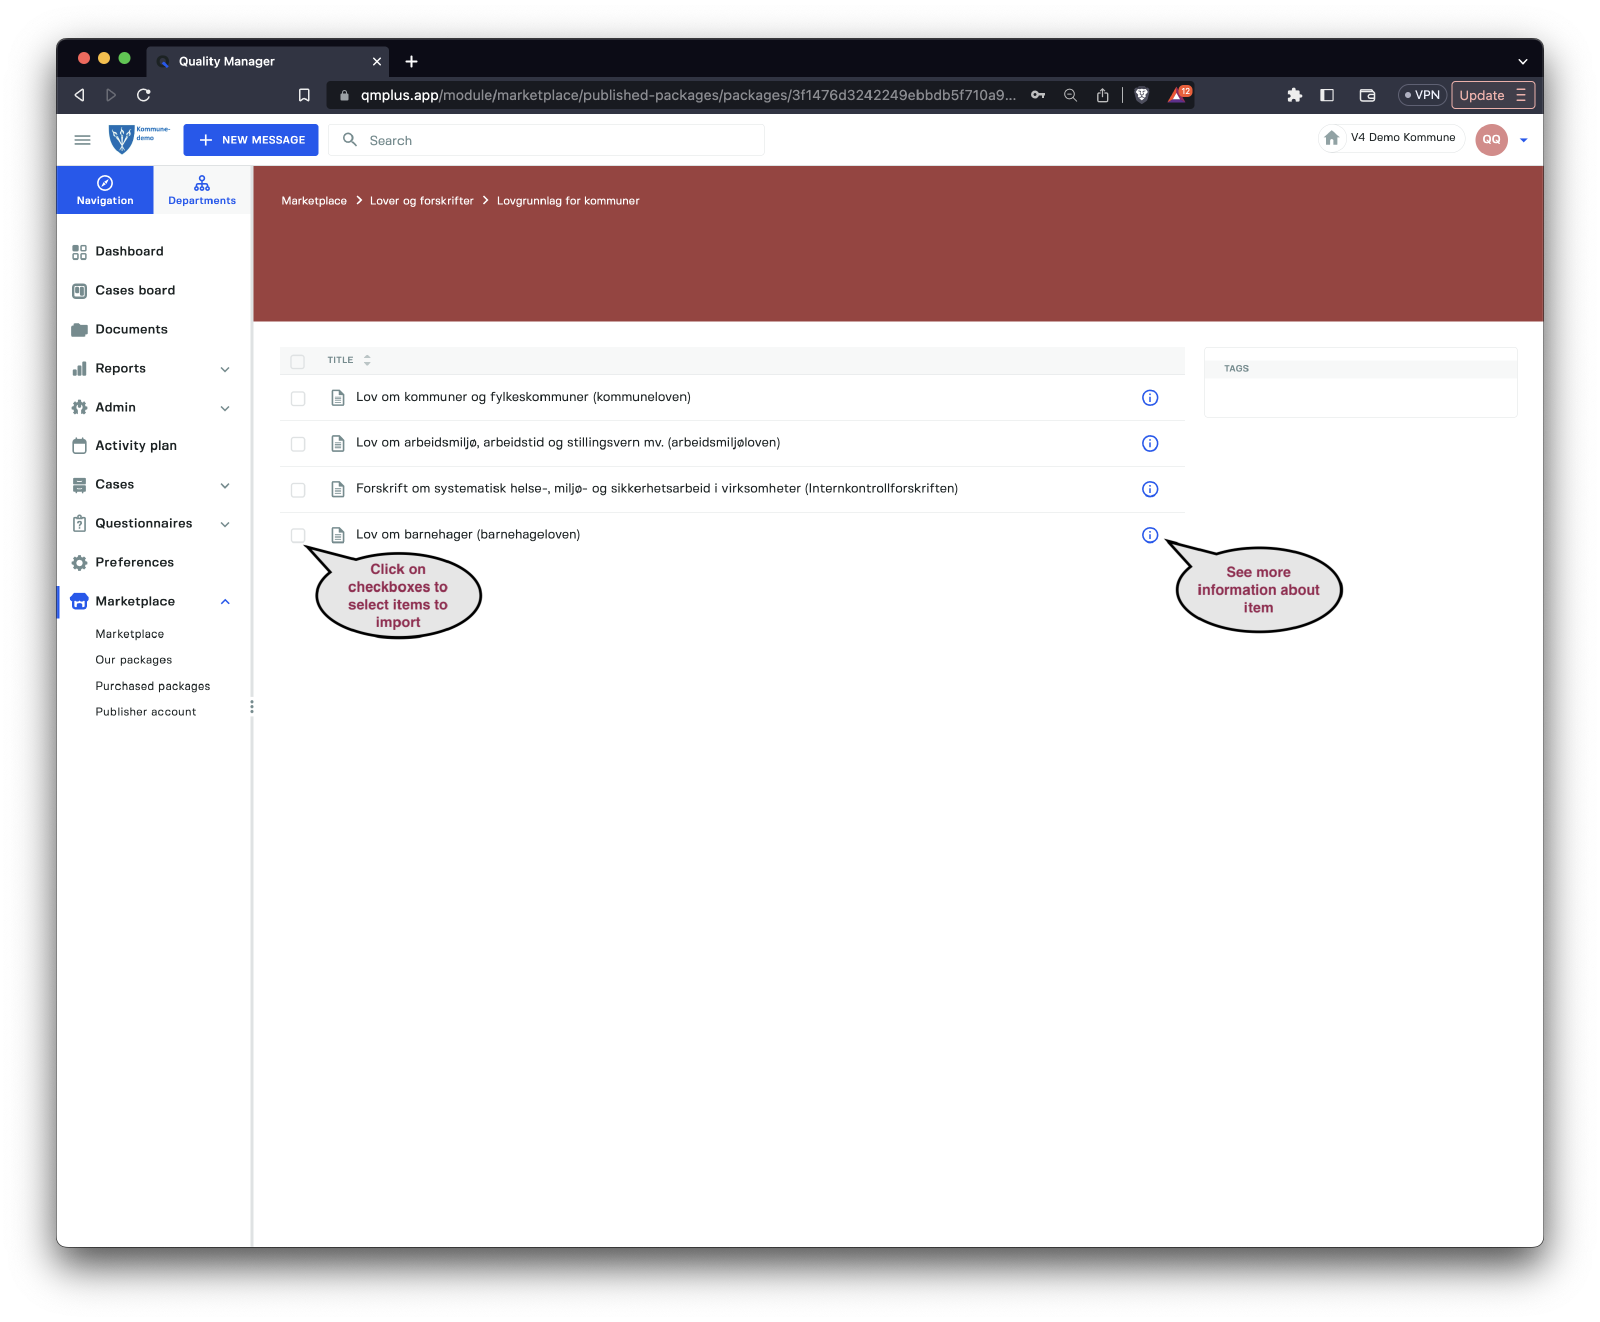
You can select the entities you want to import by clicking on the checkboxes.
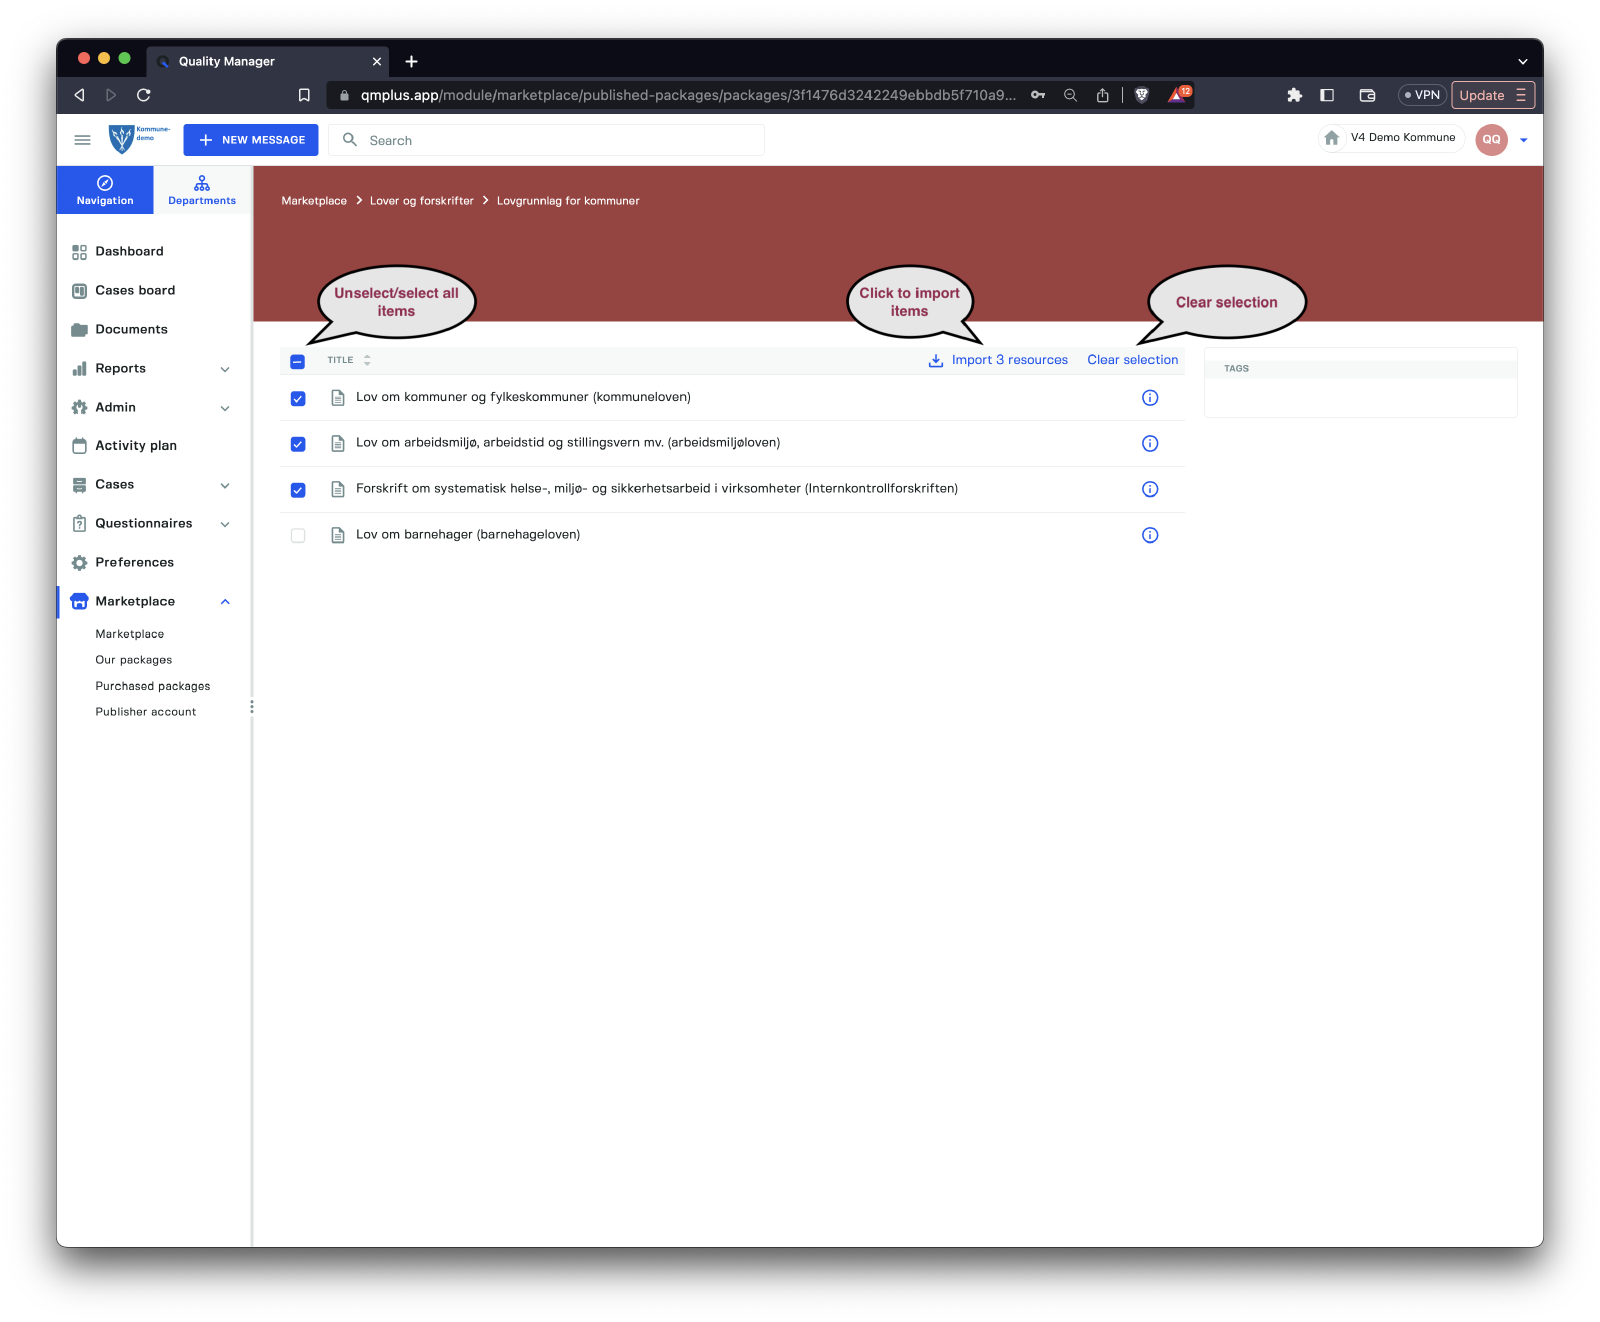
Once the user has selected the items they want to import, they click the import resources button to start the import process.
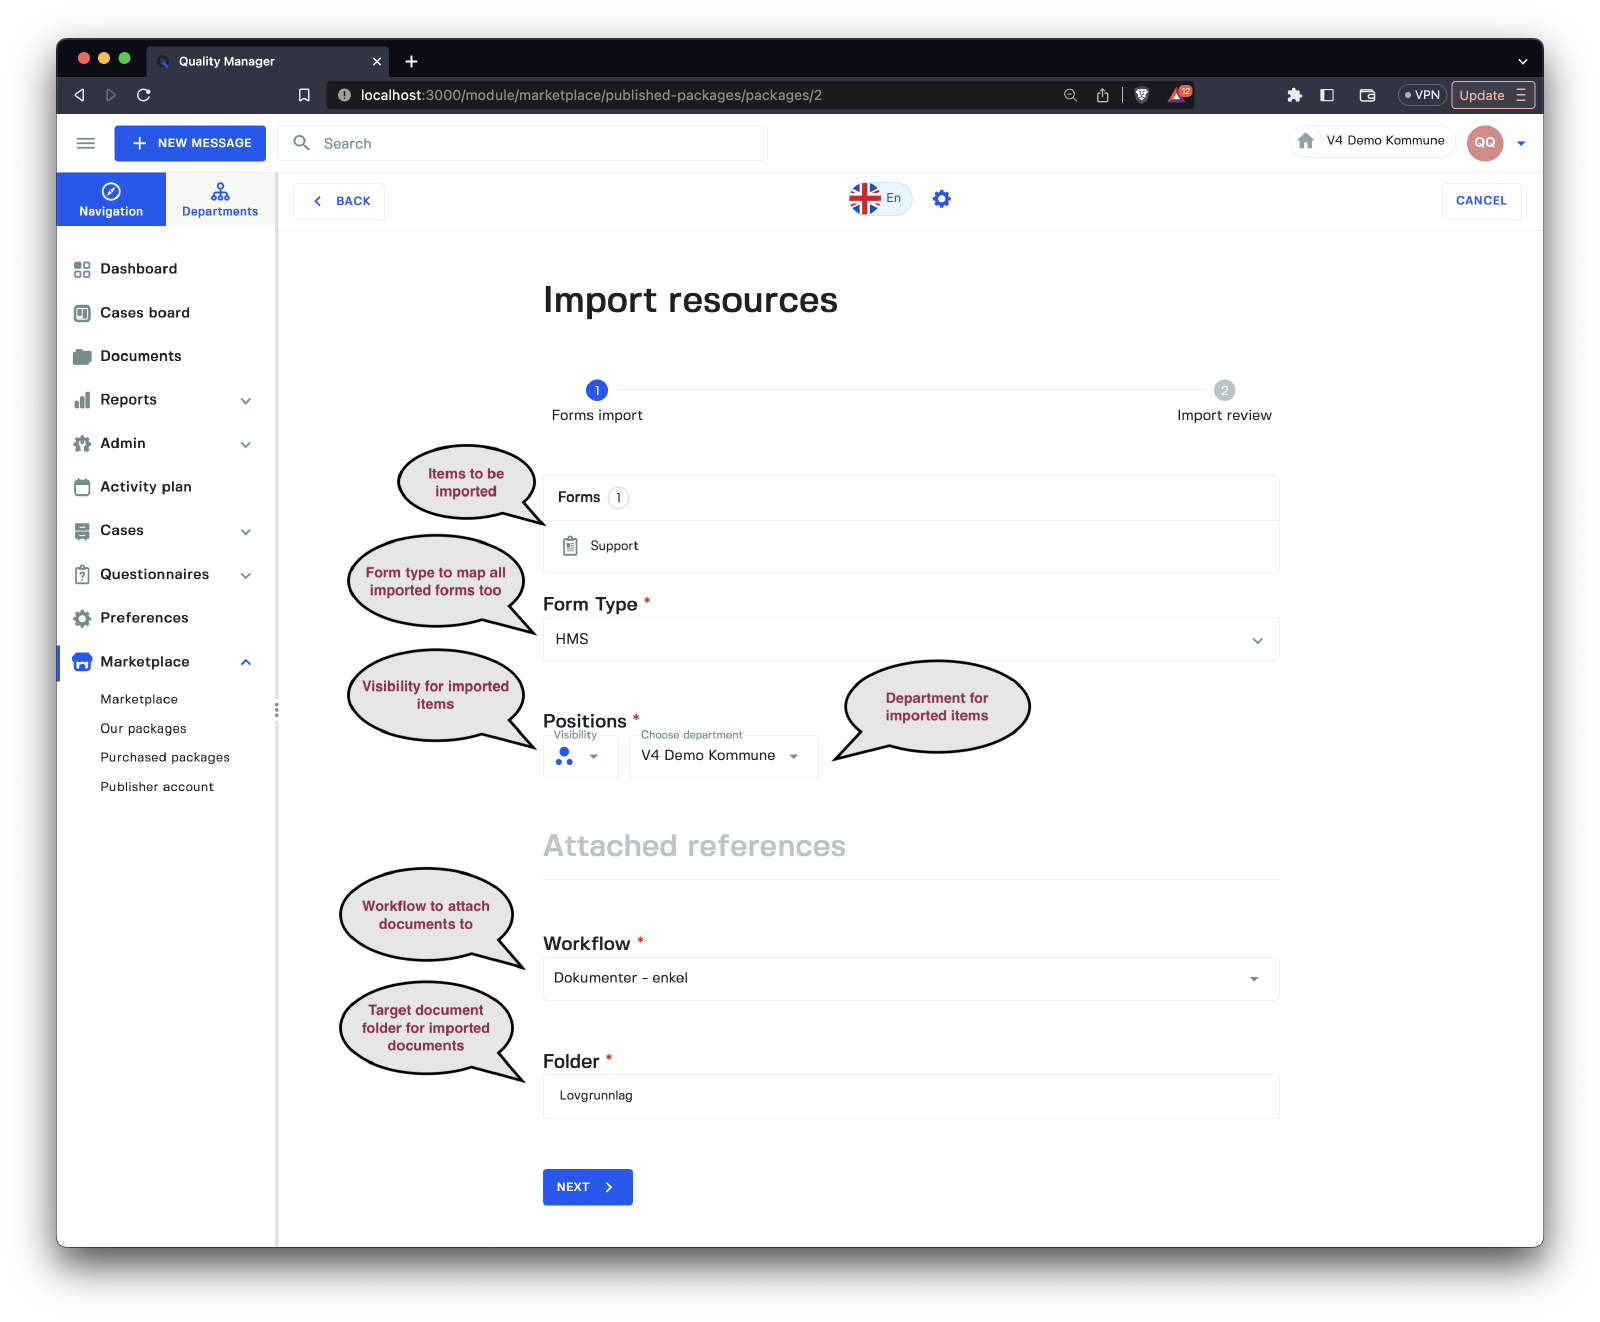
The import form will pop up and allow you to specify the following options.
| Option | Description |
|---|---|
Form Type | The form type used to attach forms that get imported. |
Visibility | The visibility of any item imported. |
Department | The department used for any item imported. |
Workflow | The workflow used for all the documents imported. |
Folder | The target document folder for importing all the documents to. |
Once you have specified all the fields, you click the Next button to bring you to the import confirmation screen.
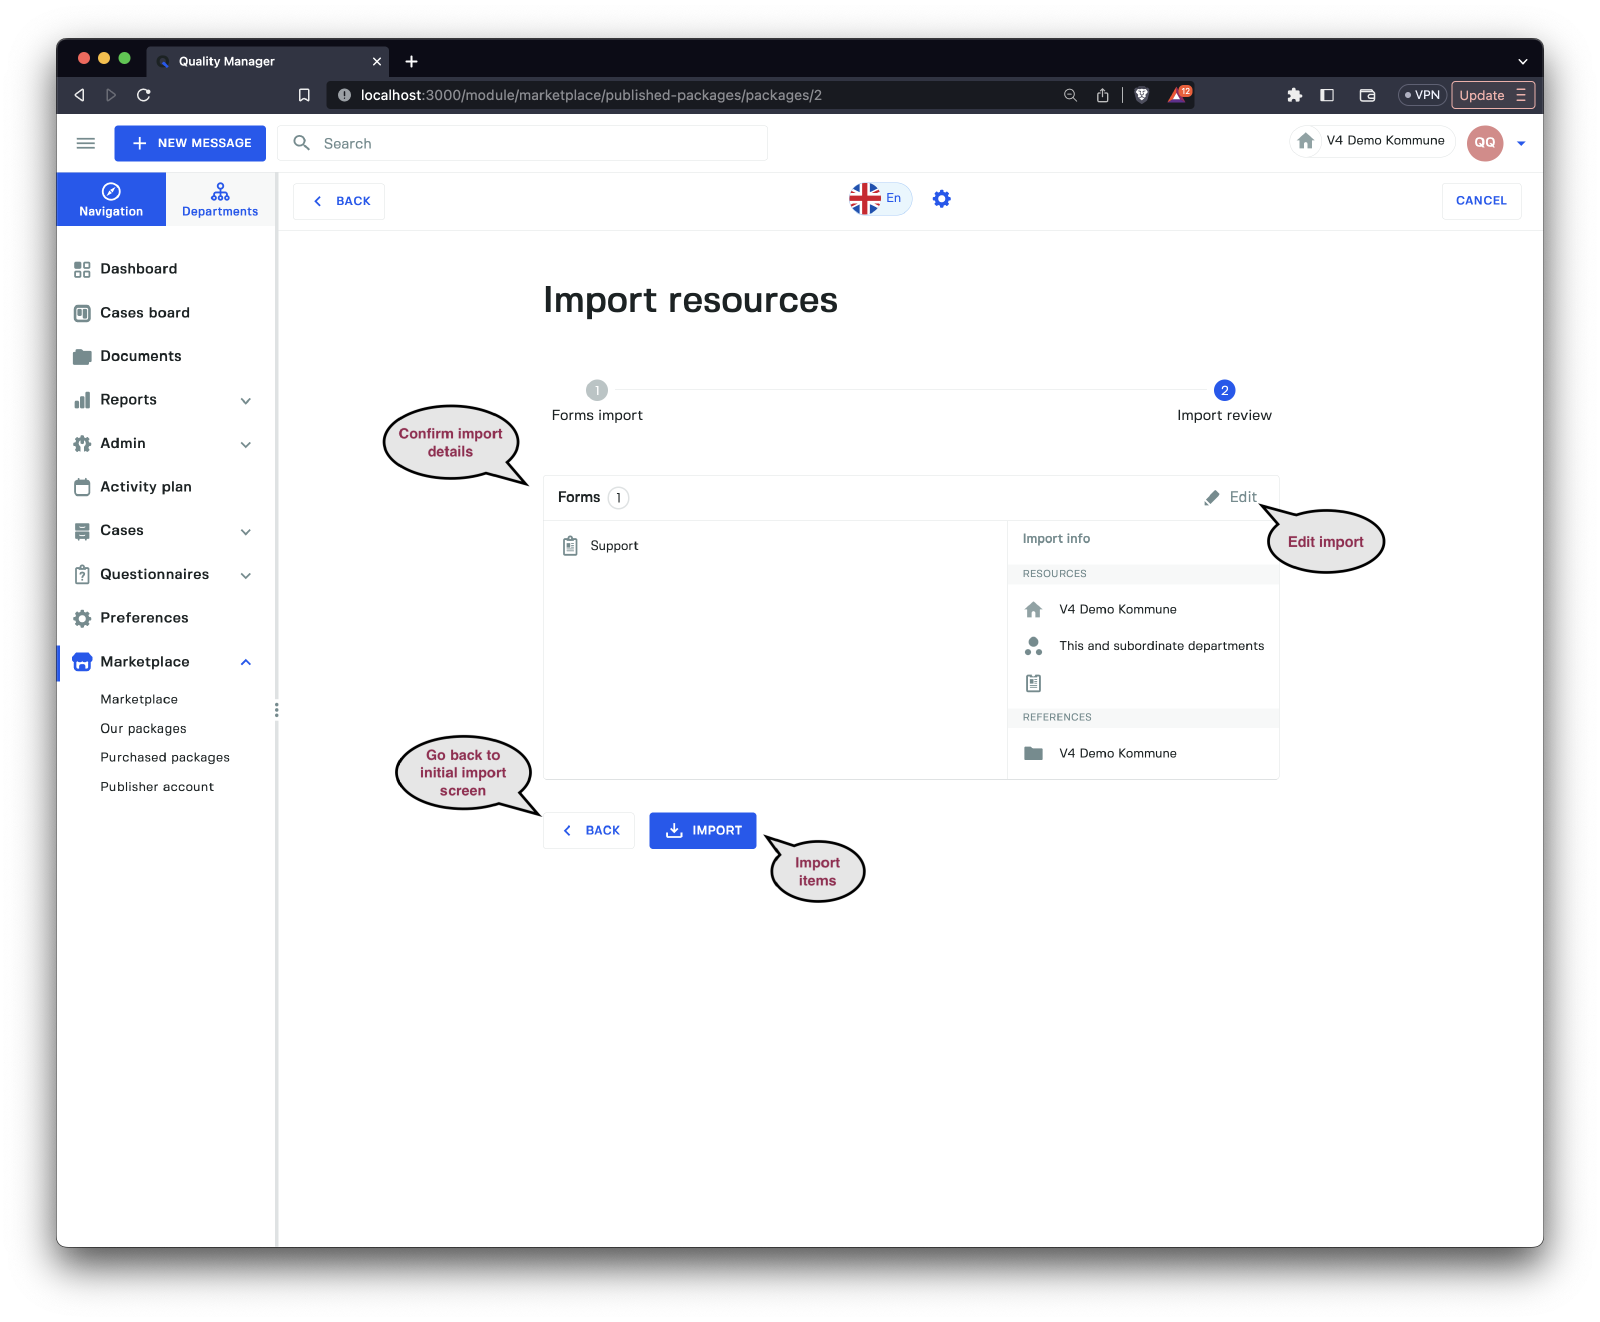
Confirm the items and finally click the Import button to finish the import process.
Our Packages
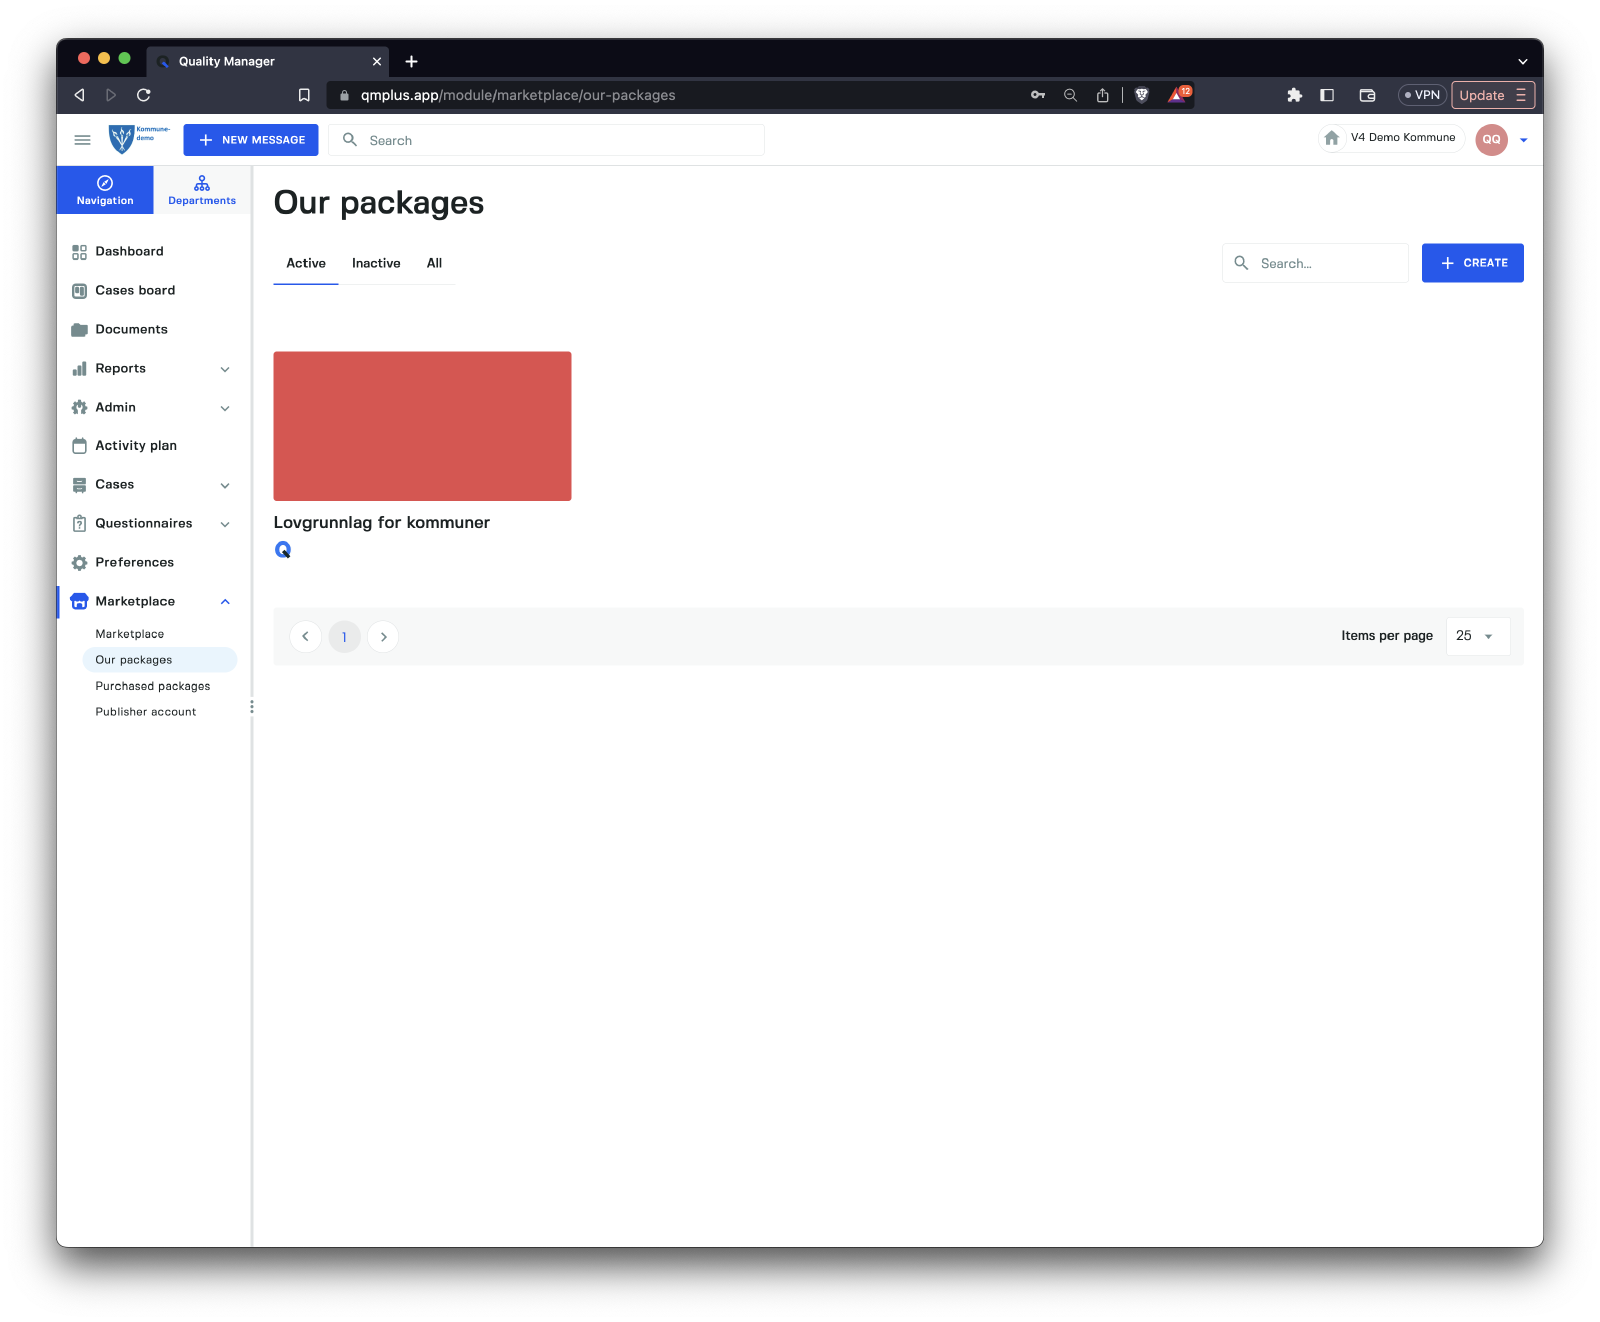
Our packages show all the packages we have created. Clicking on one of the packages brings us to the content page.
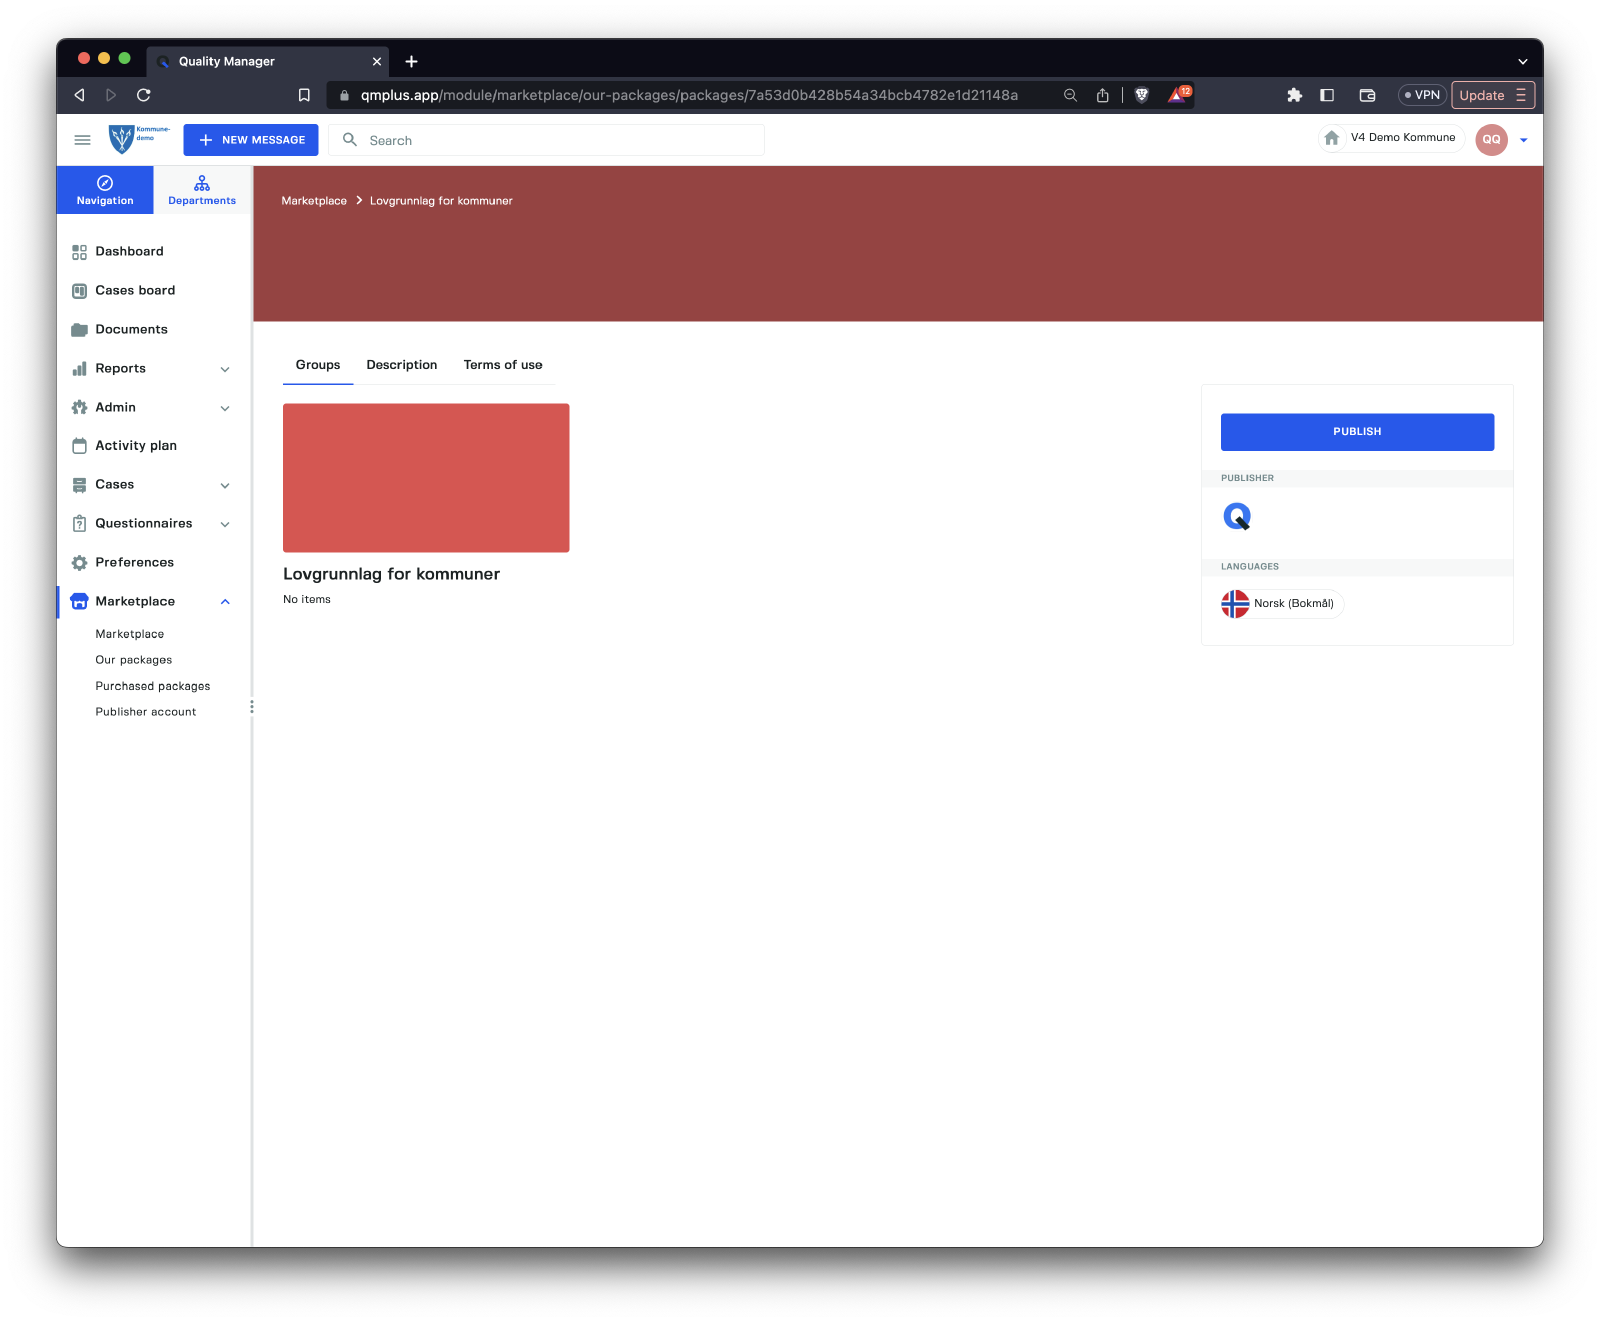
We can see the list of content groups in the package. Clicking on the Publish button will publish the latest version of the package to the marketplace.
DONE
Create Package
To create a new package, start by clicking on the menu item labeled “Our packages” and then select the “Create” button.
There are two primary tabs in the package creation interface:
| Tab | Description |
|---|---|
General | Allows editing of the main package information. |
Content | Enables editing of package groups and content. |
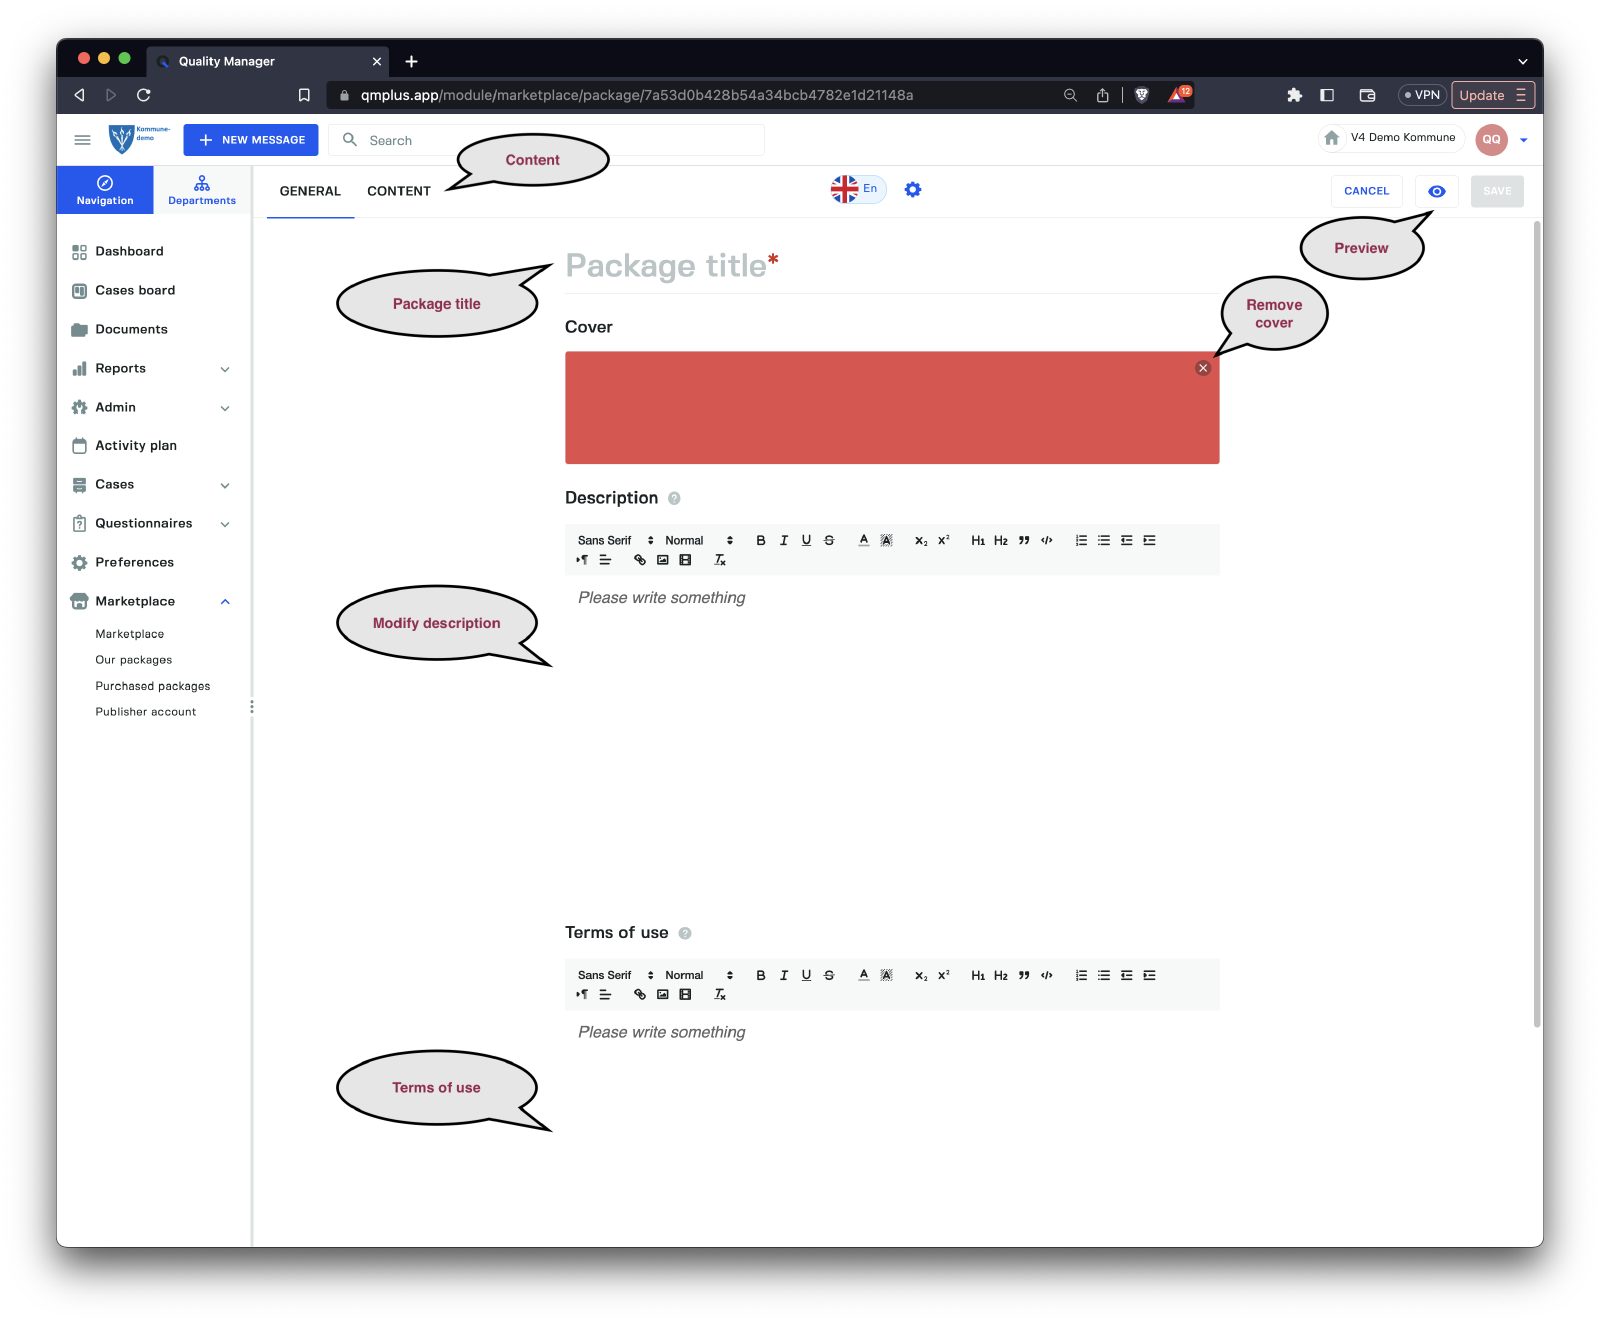
The General tab provides options to edit the package title, background image, description, and terms of usage. To modify the actual content of the package, switch to the Content tab.
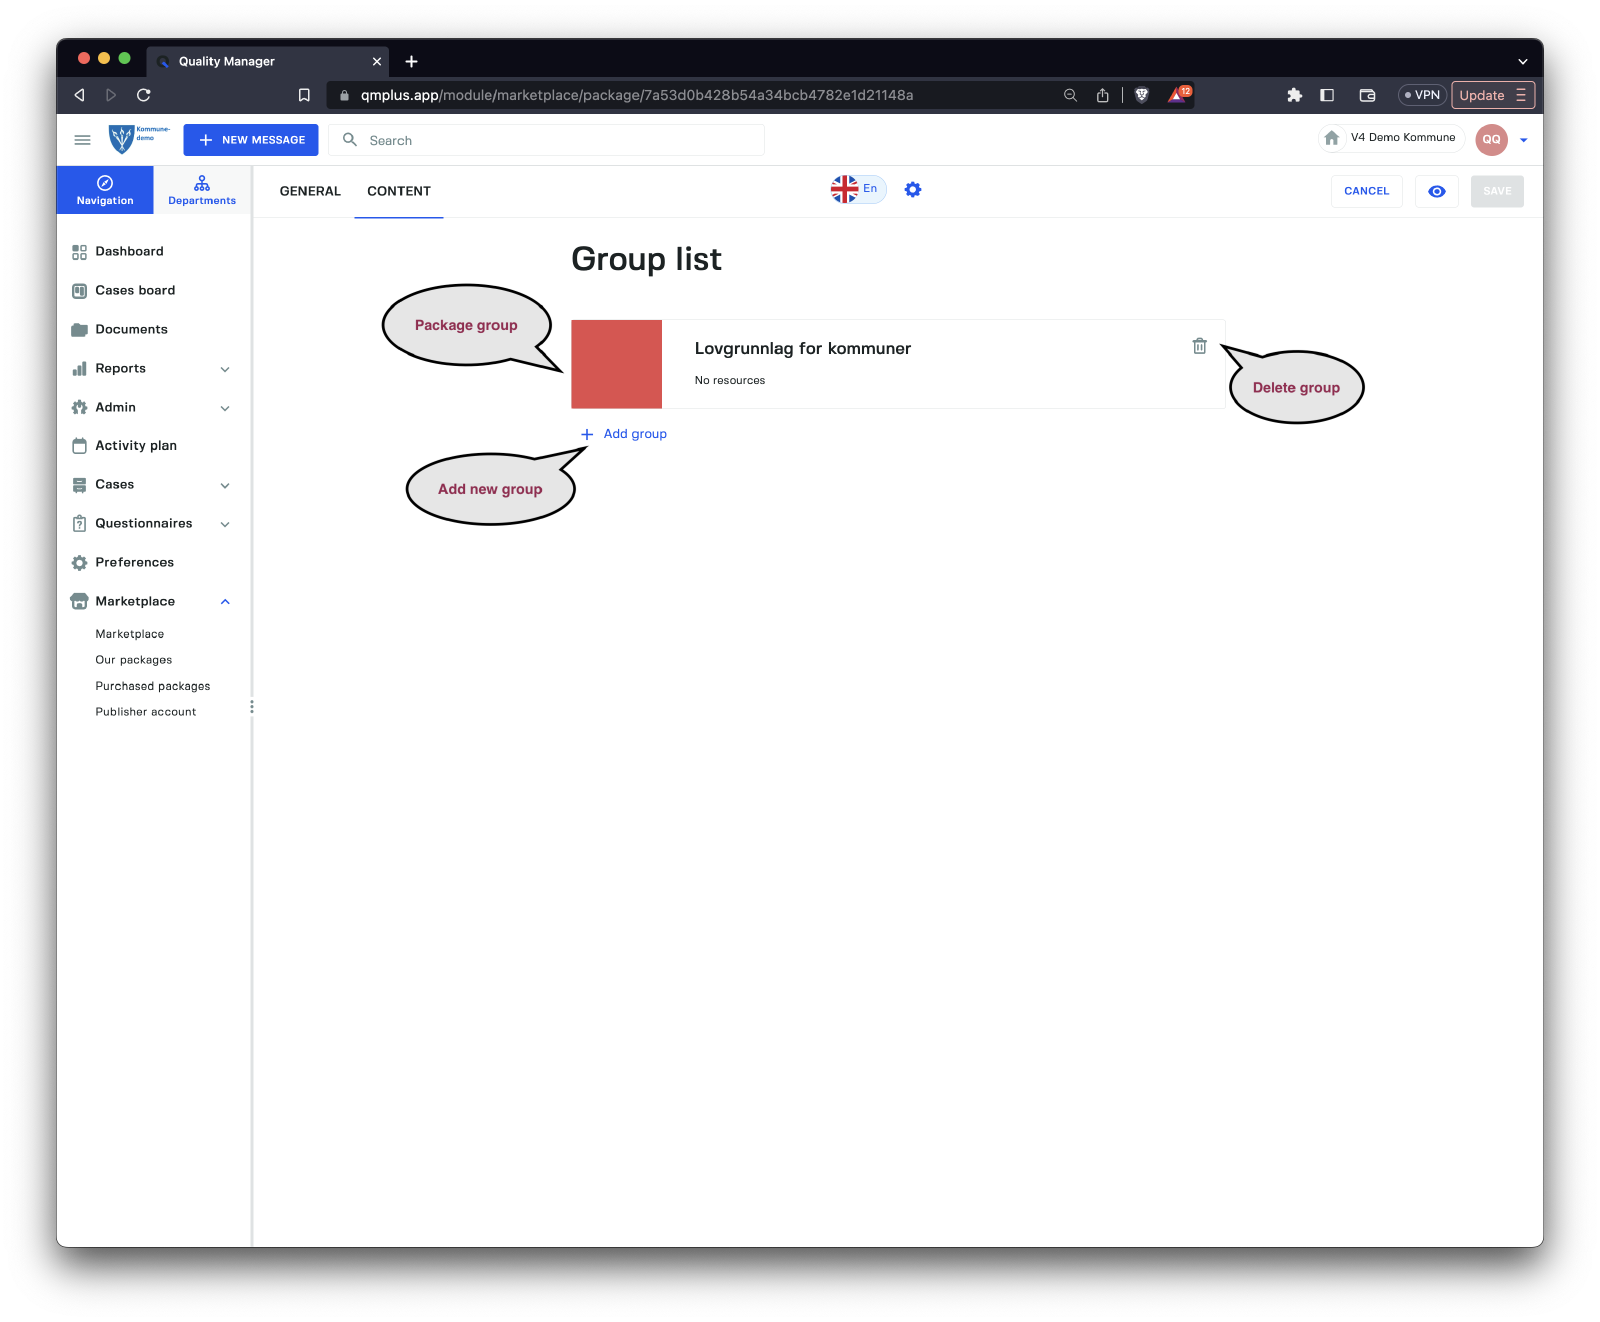
The Content tab displays all the groups that comprise the package. To view and edit the contents of a package group, click on the desired Group.
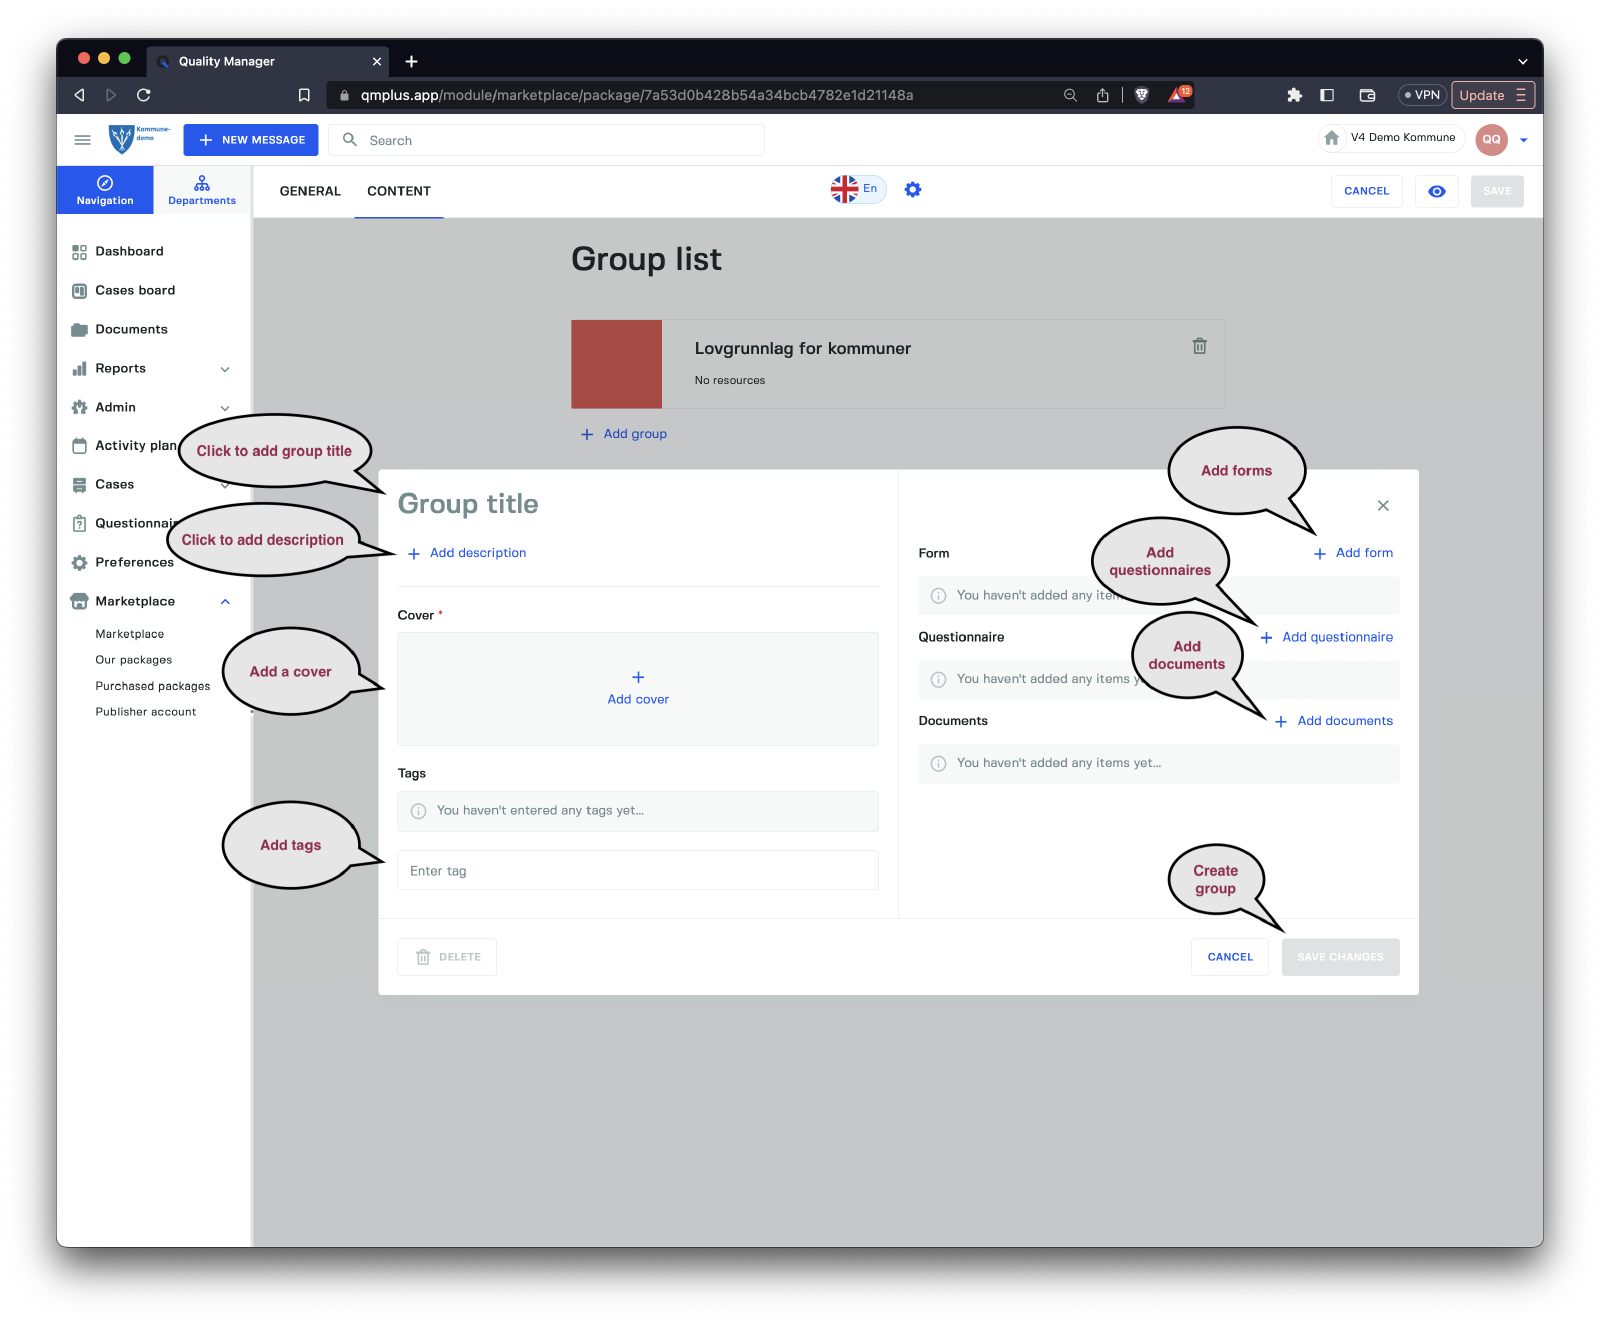
Selecting Add group opens a new Group dialog, which allows you to create a fresh Group. The available options include:
| Option | Description |
|---|---|
Group title | Assign a title to the group. |
Description | Provide a description for the group. |
Cover | Upload a cover image for the group’s background. |
Tags | Attach relevant tags to the group. |
Form | Incorporate forms into the package group. |
Questionnaire | Include questionnaires in the package group. |
Documents | Add documents to the package group. |
After filling out the necessary fields, click the “Save Changes” button to add the new group to the package.
DONE
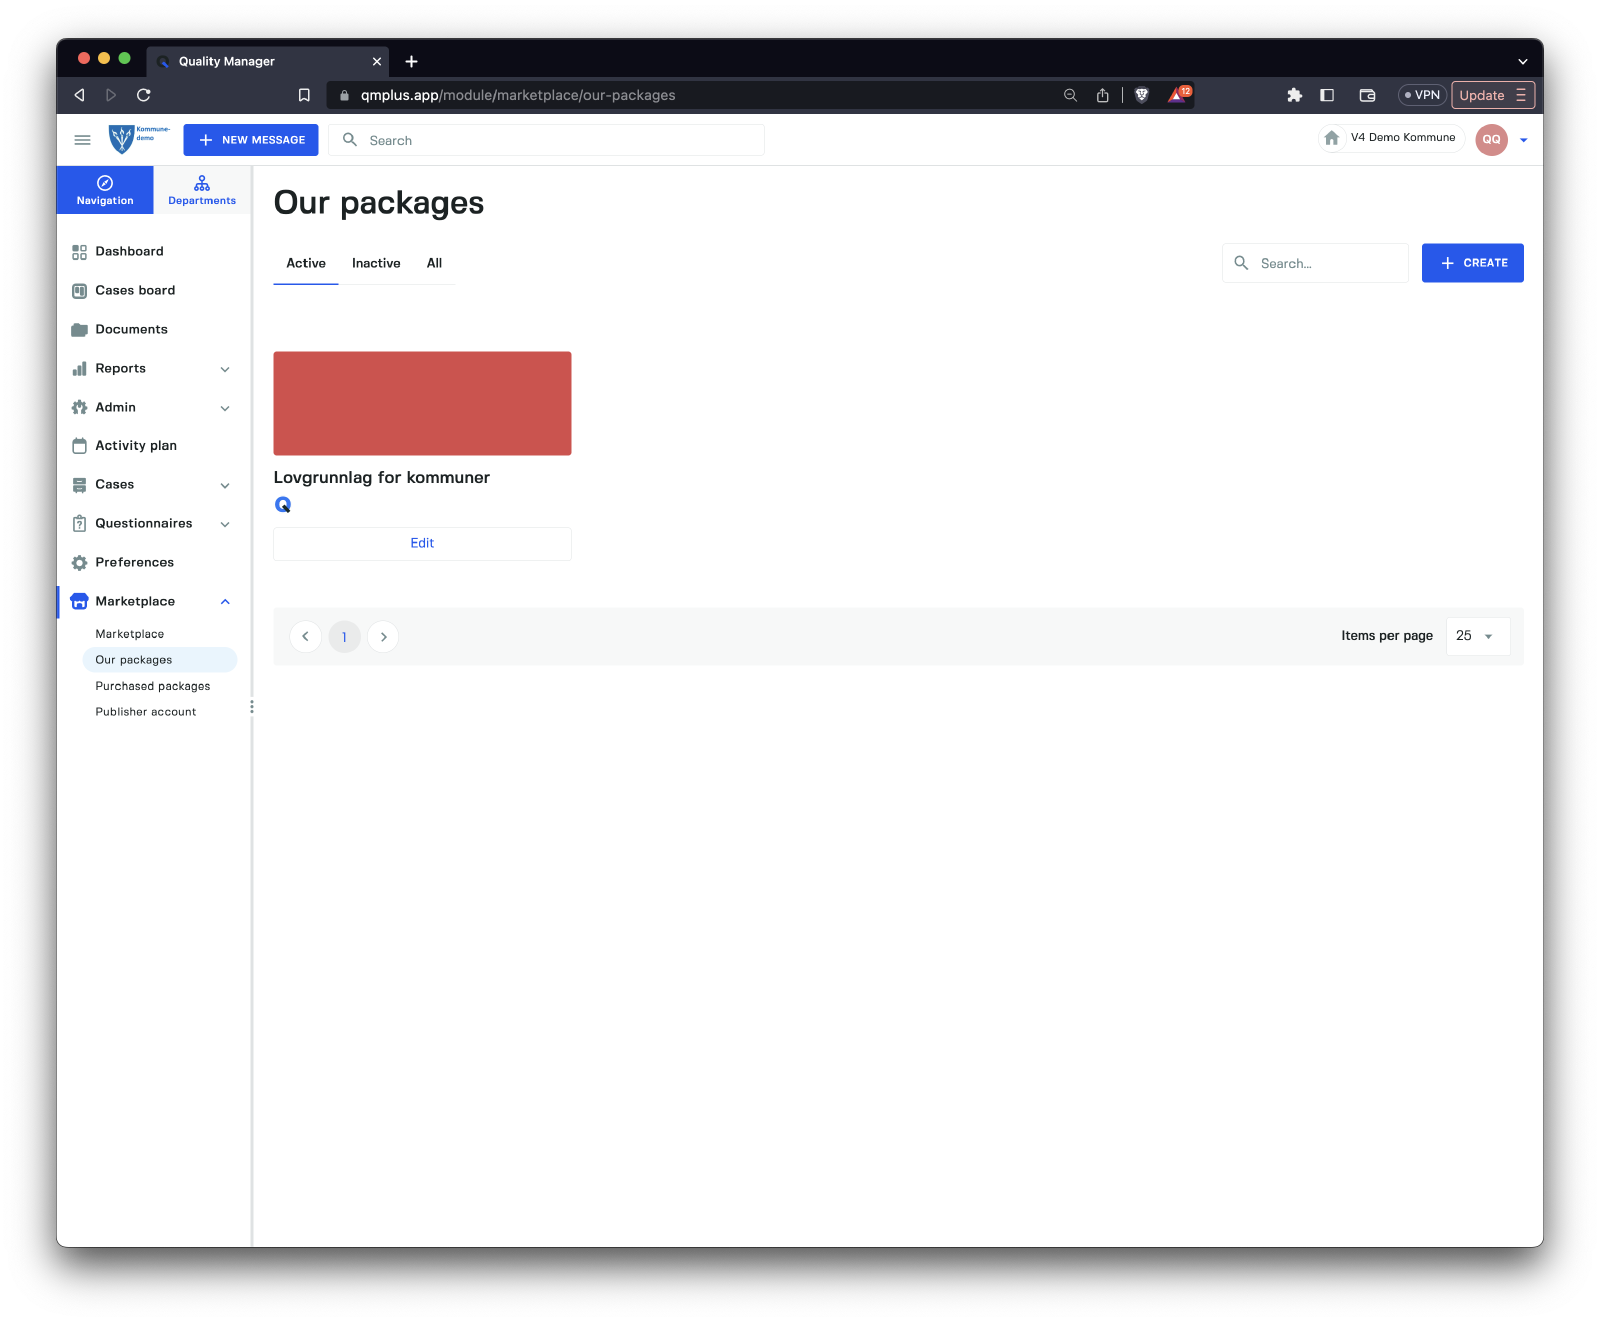
Edit Package
To edit an existing package, hover over the package and click the Edit button. This action allows you to modify the package content.
There are two main tabs for package editing:
| Tab | Description |
|---|---|
General | Contains the main package information to edit. |
Content | Enables editing of package groups and content. |
The General tab provides options to edit the package title, background image, description, and terms of usage. To modify the actual content of the package, switch to the Content tab.
The Content tab displays all the groups that comprise the package. To view and edit the contents of a package group, click on the desired Group.
Selecting Add group opens a new Group dialog, which allows you to create a fresh Group. The available options include:
| Option | Description |
|---|---|
Group title | Assign a title to the group. |
Description | Provide a description for the group. |
Cover | Upload a cover image for the group’s background. |
Tags | Attach relevant tags to the group. |
Form | Incorporate forms into the package group. |
Questionnaire | Include questionnaires in the package group. |
Documents | Add documents to the package group. |
After filling out the necessary fields, click the “Save Changes” button to add the new group to the package or save any modifications made to an existing group.
DONE
Publisher Account
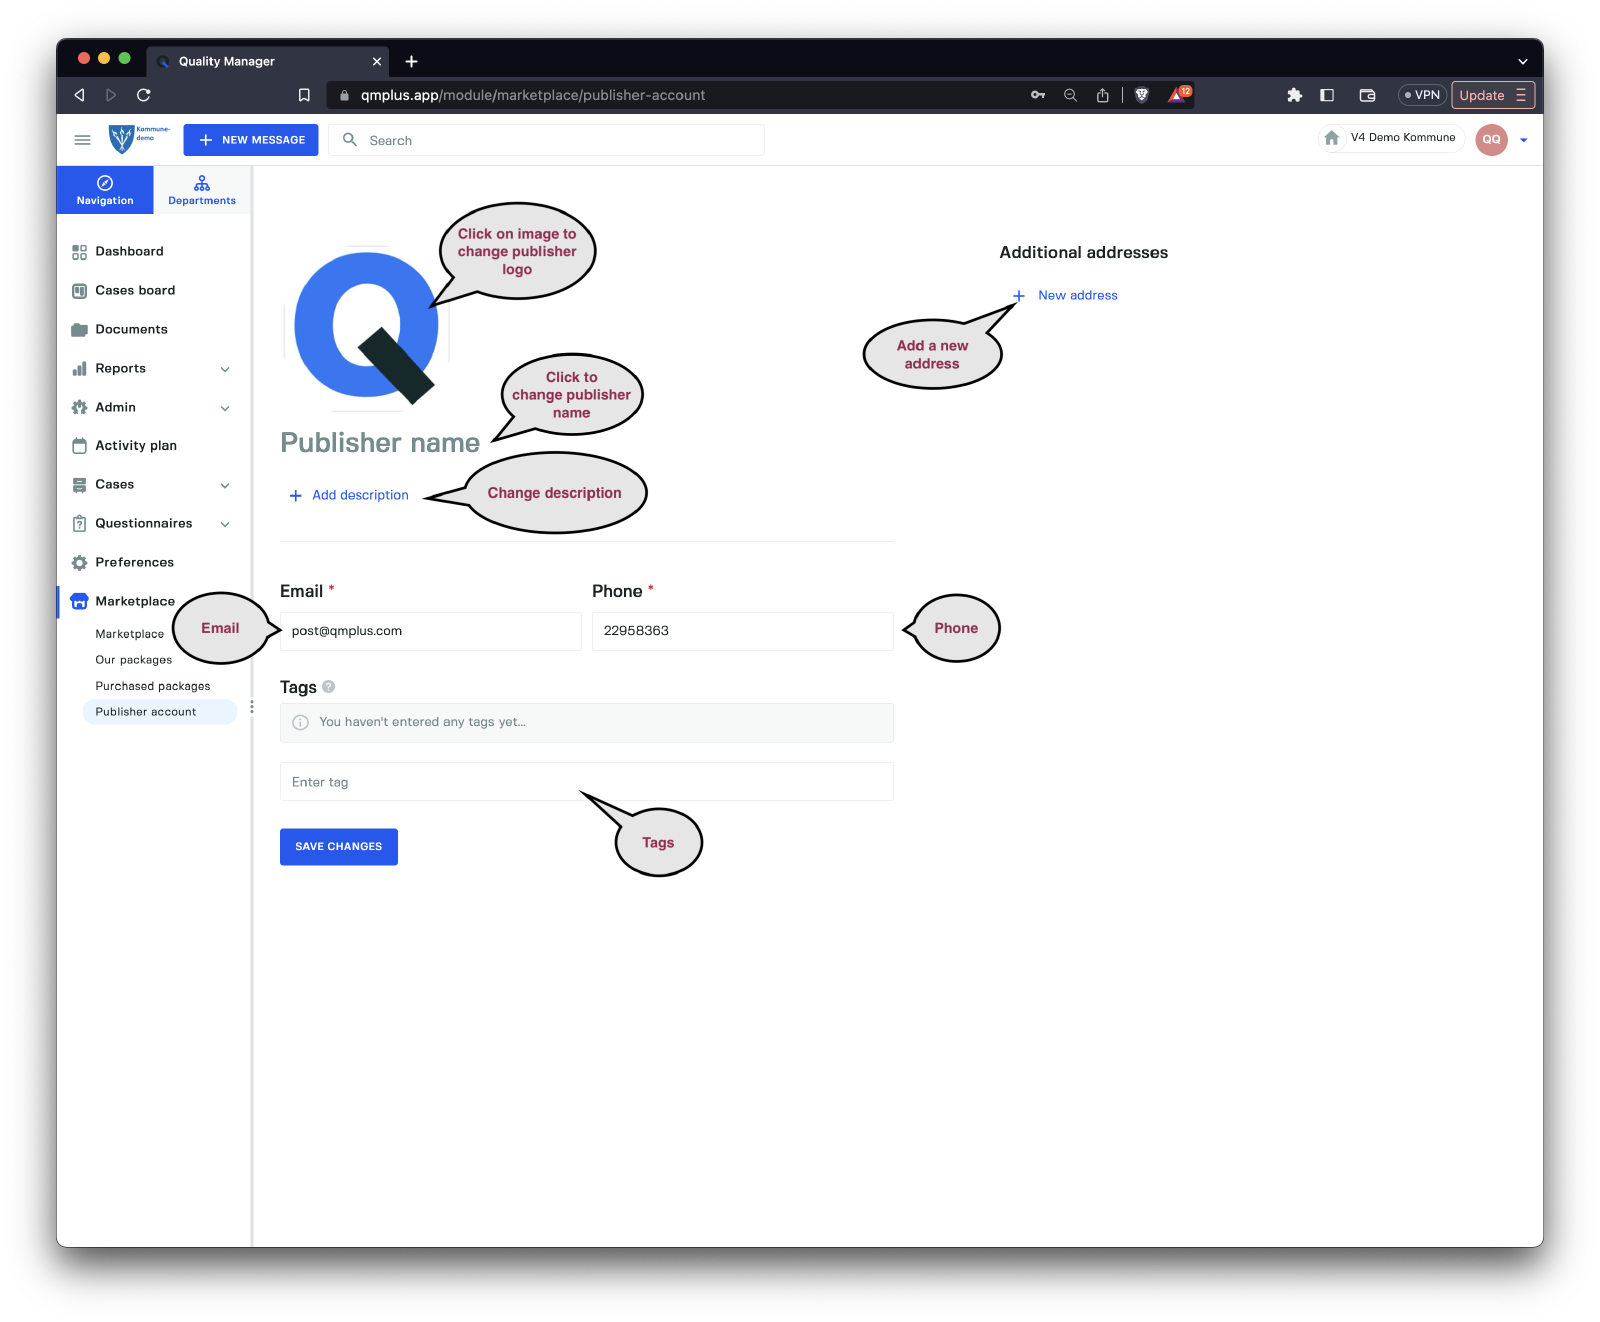
The Publisher Account section displays information about the publisher when users search and browse the marketplace. You can modify the following fields:
| Field | Description |
|---|---|
Logo | Change the publisher’s logo. |
Publisher name | Update the publisher’s name. |
Description | Edit the publisher’s description. |
Email | Provide the publisher’s email address. |
Phone | Include the publisher’s phone number. |
Tags | Manage tags associated with the publisher. |
Addresses | Update the publisher’s addresses; click “Add address” to input new addresses. |
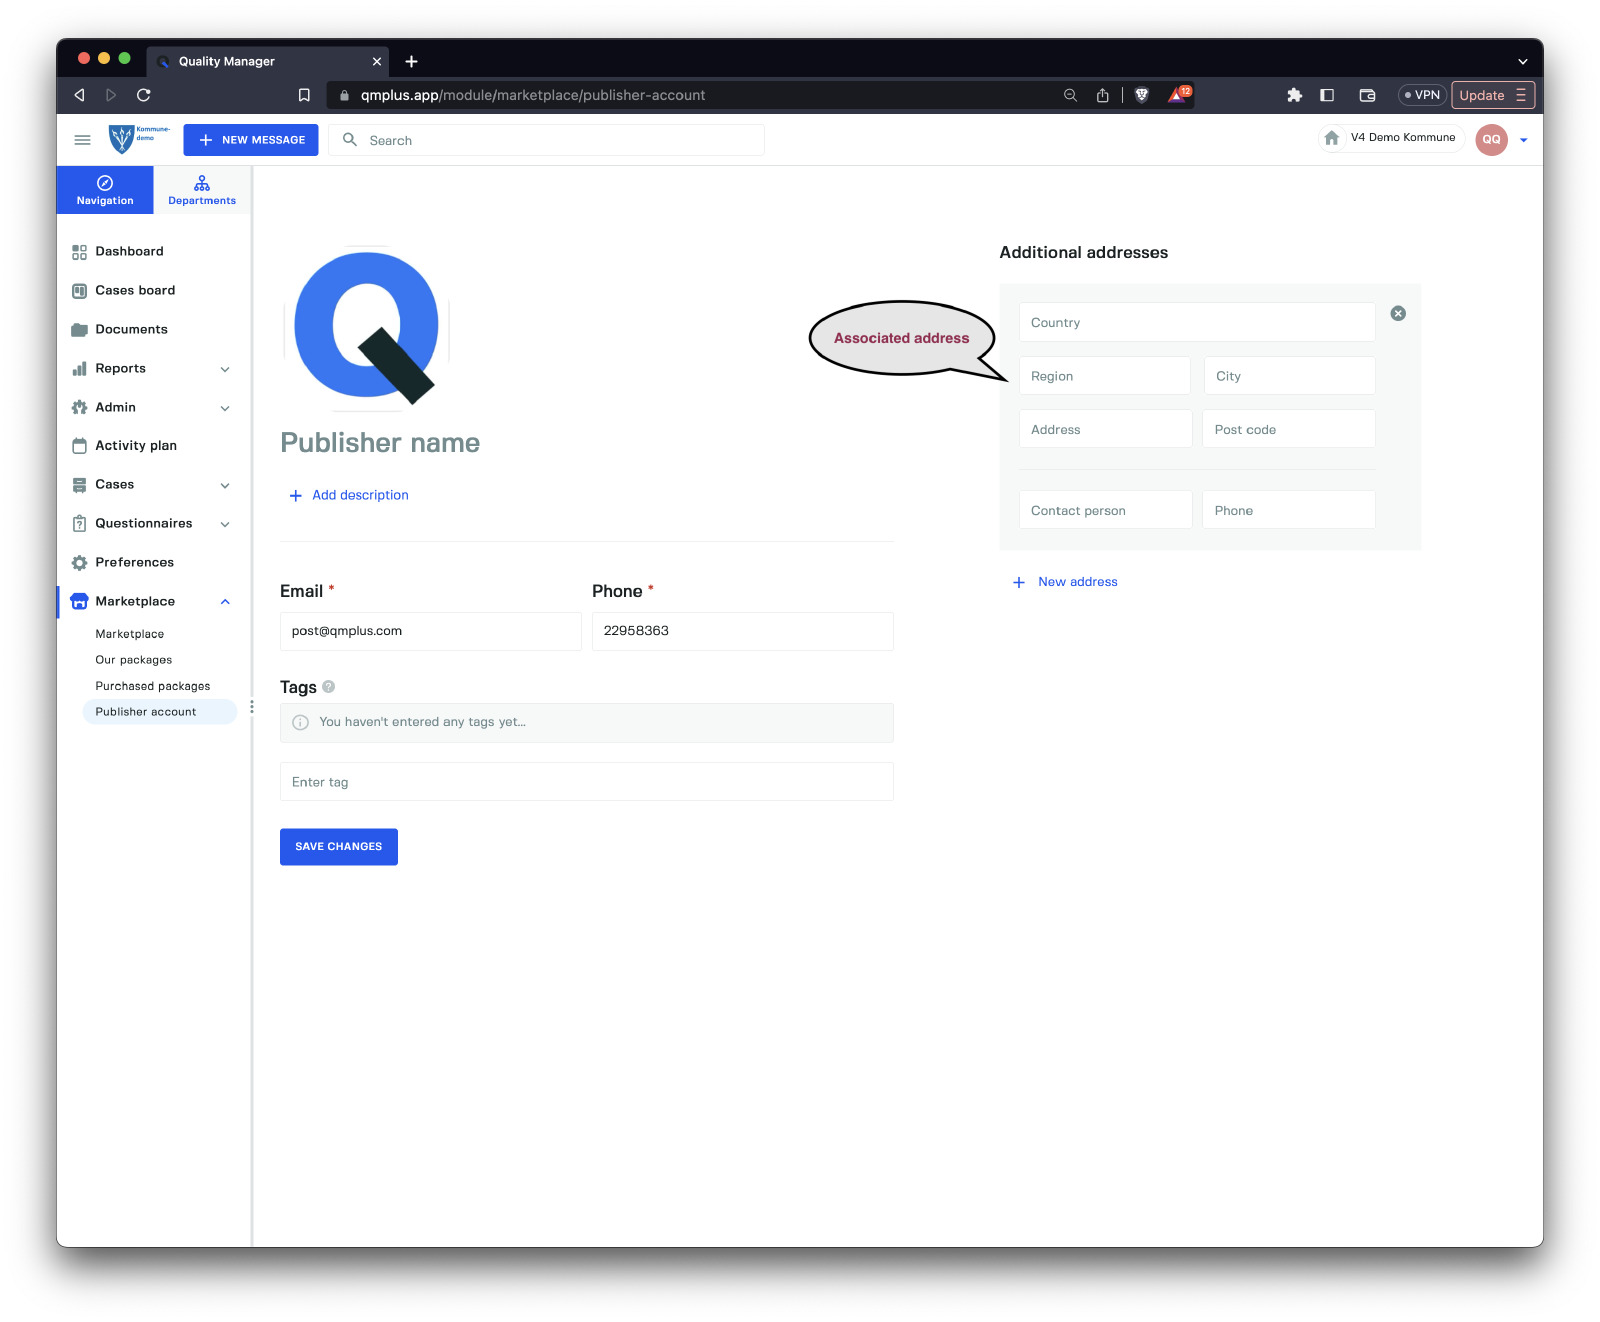
A new address entry includes the following fields:
| Field | Description |
|---|---|
Country | Specify the country for the address. |
Region | Identify the region of the address. |
City | Name the city of the address. |
Address | Provide the street address. |
Post code | Enter the postal code for the address. |
Contact person | List the full name of the contact person at this address. |
Phone | Add a phone number to reach the publisher at this location. |